The Push Font is not a widely recognized or established font name in the design industry. Therefore, this article will explore the concept of “push” in typography as a design principle or effect, and how to achieve it to make text bold, impactful, and attention-grabbing.
Ever tried to make your words pop, to give them that extra bit of oomph that grabs attention instantly? Sometimes, you need your text to feel strong, like it’s actively reaching out or pushing forward. This feeling, this visual impression, is something designers often strive for. It’s about making your message not just seen, but felt. If you’ve ever found yourself staring at a design, thinking, “How do I make this text more dynamic?” or “How can I give this headline more presence?”, you’re in the right place. We’re going to break down how to create that powerful, “push” effect in your typography. Get ready to transform static text into something truly memorable!
Understanding the “Push” in Typography
When we talk about a “push” in typography, we’re not referring to a specific font file named “Push.” Instead, it’s a powerful design concept. It’s the feeling that your text is strong, forward-moving, and demands attention. Think of it like this: some fonts whisper, others shout. A “push” font or effect screams with confidence. It’s essential for headlines, calls to action, or any element that needs to cut through the noise and make an immediate impact. It convinces the reader to engage, to lean in, and to take notice.
Why is the “Push” Effect So Important?
In today’s crowded digital and print spaces, capturing attention is a constant challenge. A well-executed “push” effect can:
- Grab Immediate Attention: Make your headlines or key messages impossible to ignore.
- Convey Strength and Confidence: Project a sense of authority and boldness for your brand or message.
- Guide the Reader’s Eye: Direct focus to crucial information, improving user experience.
- Add Visual Interest: Break up monotony and inject energy into a design.
- Enhance Readability (in context): When used correctly, it can make important text stand out, aiding comprehension.
Achieving the “Push” Effect: Practical Techniques
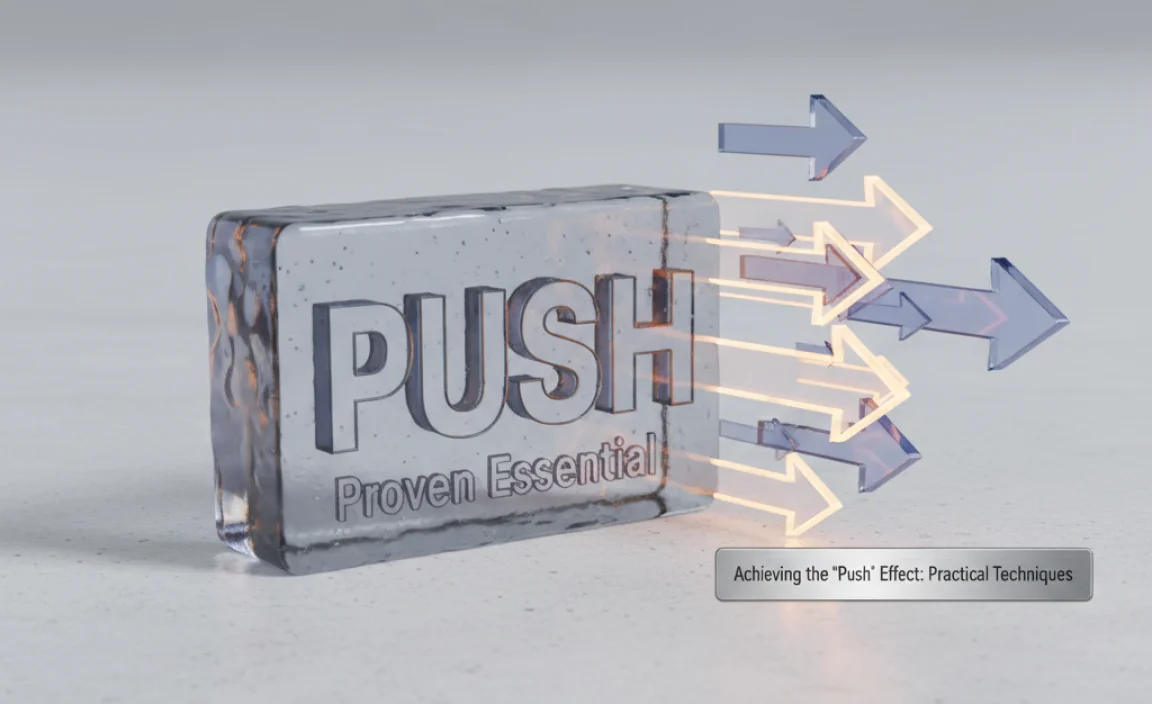
The “push” in typography is achieved through a combination of font choice, styling, and sometimes even a bit of creative manipulation. Let’s dive into the proven methods.
1. Selecting the Right Base Font
The foundation of any strong typographic effect is the font itself. For a “push” effect, you’ll generally want fonts that inherently possess boldness and presence.
Characteristics of “Push-Ready” Fonts:
- Bold Weights: Look for fonts with robust “Bold,” “Black,” or “Heavy” weights. These are naturally more impactful.
- Sturdy Structure: Fonts with strong, geometric forms, thick strokes, and clear, defined shapes often exude power.
- Minimalist Detailing: Overly decorative or delicate fonts usually don’t translate well to a “push” effect. Simplicity often equals strength.
- Sans-Serif Dominance: While slab serifs can work, sans-serif families often provide the clean, direct feeling associated with a forward “push.”
Recommended Font Categories:
Here are some categories of fonts that often lend themselves well to this effect:
- Geometric Sans-Serifs: Think Futura, Montserrat, Poppins. Their clean, circular forms are inherently stable and strong.
- Grotesque/Neo-Grotesque Sans-Serifs: Helvetica, Arial, Inter. Their straightforward, utilitarian design adds a no-nonsense feel.
- Slab Serifs (Sturdy Ones): Rockwell, Arvo, Roboto Slab. The thick, blocky serifs give them a solid, impactful presence.
- Display Fonts (Bold Variants): Many display fonts are designed for impact. Look for their heavier weights, like Bebas Neue or Oswald.
2. Strategic Use of Font Weights
This is arguably the most direct way to create a “push.” Simply choosing a heavier weight of your chosen font amplifies its presence.
Weight Scale Example:
Consider a font like Open Sans. The difference in impact between its weights is significant:
| Font Weight | Visual Impact | Description |
|---|---|---|
| Light | Subtle | Gentle, airy; whispers softly. |
| Regular | Standard | Balanced, readable; conversational. |
| Semi-Bold | Moderately Strong | Noticeable, engaging; starting to push. |
| Bold | Strong | Clear, commanding; definite push. |
| Extra-Bold/Black | Intense | Dominant, impactful; full force push. |
For a strong “push,” aim for Bold through Black weights. These are designed to be seen.
3. Mastering Contrasting Styles
Contrast is a fundamental design principle that helps elements stand out. Using contrasting styles can make your main text “push” against its surroundings.
Types of Contrast for “Push”:
- Weight Contrast: Placing bold headings next to lighter body text. The heavy font will naturally push forward.
- Style Contrast: Using a bold, strong sans-serif for a headline against a more delicate serif for body copy can create a powerful juxtaposition.
- Size Contrast: Simply making your text larger than its surrounding elements is a primary way to give it prominence and a sense of “push.”
4. The Power of Color
Color plays a massive role in drawing attention and conveying emotion. When combined with strong typography, it amplifies the “push” effect.
Color Strategies for a “Push”:
- High Contrast Colors: Using a bright or bold color for your text against a muted or contrasting background makes it pop.
- Strategic Accent Colors: Applying a vibrant accent color to a single word or phrase within a larger block of text can make that part “push” forward.
- Dark Text on Light Background: This is a classic for readability and impact, creating a solid presence.
- Light Text on Dark Background: Can feel modern and can give a bold, luminous “push.”
Explore color theory to understand how different hues evoke different emotions and levels of attention. For instance, vibrant reds and oranges often convey energy and urgency, while deep blues and blacks can feel authoritative and strong.
5. Adding Depth and Dimension
While simple bolding is effective, you can also add subtle visual cues to enhance the feeling of “push.”
Styling Techniques:
- Drop Shadows: A faint, subtle drop shadow can lift the text off the background, giving it a slight 3D effect and making it project forward. Be careful not to overdo it, as it can quickly look dated. Use softer, less opaque shadows.
- Text Strokes/Outlines: A bold outline can make text incredibly prominent, especially when the fill color is different or lighter than the outline. This technique is common in gaming and sports branding.
- Gradient Overlays: A subtle gradient can add dimension. A gradient that appears to “catch the light” can give text a more dynamic, forward-facing appearance.
6. Manipulating Spacing (Kerning and Leading)
The space around and within your text characters is crucial for readability and impact.
Spacing Techniques:
- Kerning: Adjusting the space between individual letter pairs. Tightening kerning can sometimes create a denser, more solid feel, making words appear to “push” together.
- Tracking: Adjusting the overall spacing between characters in a block of text. Slightly increased tracking can sometimes give bolder words more breathing room and emphasis.
- Leading (Line Spacing): For headlines or short phrases, slightly tighter leading can create a more compact, impactful block of text. For longer copy, generous leading aids readability, making the text feel less dense and allowing individual lines to assert themselves.
7. Using Special Effects (with Caution)
Some software allows for more dramatic effects that can create a pronounced “push” – but these must be used judiciously.
Advanced Effects:
- Text Extrusion/3D Effects: Software like Adobe Photoshop or Illustrator can create 3D text. When rendered with lighting that suggests depth and projection, this can be a very strong “push” effect. This is common in movie posters and title sequences.
- Distortions: Applied very subtly, certain distortions (like a slight wave or perspective shift) can make text feel dynamic and forward-moving.
Key Caution: Overuse of these effects can lead to unreadable, garish results. The goal is often to make the text feel implied to be pushing, rather than overtly distorted.
For more on typography and design principles, resources like the Graphic Design Stack Exchange offer community-driven insights and discussions.
Putting it All Together: Case Studies
Let’s look at how these principles are applied in real-world scenarios.
Case Study 1: Website Hero Headline
Goal: To grab attention immediately and encourage a click on a product.
Font Choice: Montserrat Black.
Styling:
Large font size.
Vibrant accent color (e.g., a bright teal or orange) against a muted background image.
Slightly tightened letter-spacing to make the headline feel compact and powerful.
Clear, sans-serif font with thick strokes inherently provides a bold presence.
Result: The headline feels immediate, energetic, and directs the user’s eye to the call-to-action button below it.
Case Study 2: Brand Logo Typography
Goal: To convey stability, strength, and reliability for a construction company.
Font Choice: A strong slab serif like Roboto Slab Bold, or a robust geometric sans like Poppins Semi-Bold.
Styling:
Uppercase letters for a more formal, authoritative feel.
Solid, dark color (e.g., deep navy or charcoal grey).
Minimal letter-spacing, creating a dense, solid wordmark.
Potentially a very subtle, inline stroke or shadow effect if the brand requires it.
Result: The logo feels grounded, strong, and professional. The typography itself communicates the company’s core values.
Case Study 3: Call-to-Action Buttons
Goal: To make a button stand out and encourage a click.
Font Choice: Any highly legible sans-serif in a bold weight (e.g., Inter Bold, Arial Bold).
Styling:
Uppercase text.
Contrasting button color.
Sufficient padding around the text ensures it doesn’t feel cramped.
* Result: The text on the button is unmistakable, clearly communicating the desired action.
Common Pitfalls to Avoid
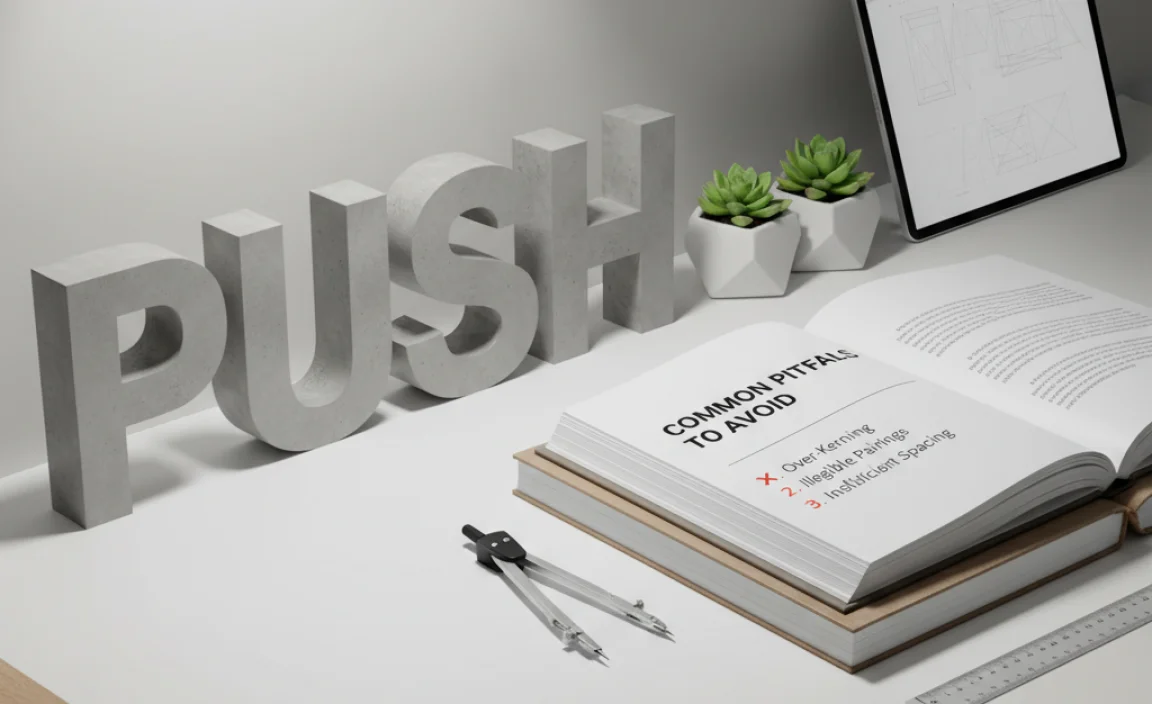
While aiming for impact, it’s easy to go too far. Here are common mistakes:
- Overuse of Bold/Heavy Weights: Using the heaviest font weight for everything makes nothing stand out.
- Excessive Layering of Effects: Too many shadows, outlines, and gradients can make text unreadable and look amateurish.
- Poor Color Contrast: Text that blends into the background will never “push.”
- Inappropriate Font Choice: Trying to force a delicate script font to “push” will likely fail.
- Ignoring Readability: The most important aspect is still that people can read your message. Impact without comprehension is useless.
For further reading on best practices in typography, the Interaction Design Foundation’s typography section offers excellent, accessible guides.
Frequently Asked Questions about “Push” Typography
What exactly is a “Push Font”?
A “Push Font” isn’t a specific font file. It refers to typography that is designed or styled to feel bold, impactful, and forward-moving, intentionally grabbing the reader’s attention and conveying strength.
How can I make my text look more “pushy” without an actual “Push” font?
You can achieve this effect by selecting a font with bold weights, using high-contrast colors, increasing font size, employing bold font weights (like Bold or Black), and using clear, strong sans-serif or slab-serif styles.
Is using a drop shadow a good way to create a “push” effect?
A subtle drop shadow can help lift text off the background and give it a sense of depth, contributing to a “push” effect. However, it’s crucial to use it sparingly and softly, as heavy or harsh shadows can make text look dated or blurry.
Which font types are best for achieving a strong “push” effect?
Geometric sans-serifs, grotesque sans-serifs, sturdy slab serifs, and bold display fonts are excellent choices. Look for fonts that have inherently strong strokes and clear, defined shapes.
Can I use a “push” effect for body text, or is it only for headlines?
The “push” effect is generally best suited for headlines, subheadings, calls to action, or short, impactful phrases. For body text, readability is paramount, and the strong visual presence of a “push” effect can be overwhelming and fatiguing over longer passages.
What are the risks of overdoing the “push” effect?
Overdoing it can lead to text that is hard to read, visually distracting, and may appear unprofessional or gaudy. Common mistakes include too much boldness, excessive shadows or outlines, and clashing colors.
How does color contribute to the “push” effect?
Color is a powerful tool. Using bold, contrasting colors for your text against its background makes it stand out prominently. Accent colors can be used to make individual words or phrases “push” forward within a sentence.
Conclusion: Making Your Words Move Forward
Creating that essential “push” in your typography is about more than just picking a bold font. It’s a thoughtful blend of selecting the right typeface, mastering its weights and styles, strategically using color and spacing, and understanding when and how to apply subtle enhancements. By focusing on clarity, impact, and the core message you want to convey, you can transform ordinary text into elements that actively engage your audience.
Remember, the goal is to make your words not just appear, but to feel dynamic, confident, and irresistible. Whether you’re designing a website, a logo, or a marketing flyer, mastering the “push” effect will ensure your message has the presence it deserves. Experiment with these techniques, keep readability in mind, and you’ll be well on your way to creating typography that truly stands out. Happy designing!


Leave a Comment