This guide will walk you through installing fonts on your computer, ensuring they appear seamlessly so you can elevate your designs with perfect typography. We’ll cover everything from basic installation to managing your font library for optimal creative workflow.
Welcome to FontOrbit! As a fellow design enthusiast, I know how crucial having the right font can be. Sometimes, the default options just don’t cut it, and you discover a beautiful typeface that would be perfect for your project. But then comes the common question: how do you actually get that font into Adobe InDesign? It can feel a little daunting if you’re new to it, but don’t worry! It’s simpler than you might think.
This guide is here to break down the process step-by-step. We’ll go from getting your font files ready to using them confidently in your InDesign layouts. Ready to expand your typographic toolkit and make your designs truly shine? Let’s dive in!
Understanding Font Installation in InDesign

Before we jump into the “how-to,” it’s important to understand that Adobe InDesign doesn’t have its own separate font library that you manage directly within the application. Instead, InDesign relies on your operating system’s font management. When you install a font on your computer (whether it’s Windows or macOS), InDesign automatically recognizes and lists it among its available options.
This means the primary step to adding a font to InDesign is actually installing it onto your system. Once your operating system knows about the font, InDesign can’t wait to use it!
Why is Font Management Important?
Using the right fonts is more than just aesthetics; it’s about effective communication. A well-chosen typeface can:
- Enhance readability, especially for long texts.
- Reinforce your brand’s personality (e.g., modern, playful, elegant).
- Make your designs visually appealing and memorable.
- Ensure consistency across different design projects.
Having a streamlined process for adding and managing fonts means you can spend less time troubleshooting and more time creating. Let’s ensure your font library is ready at your fingertips!
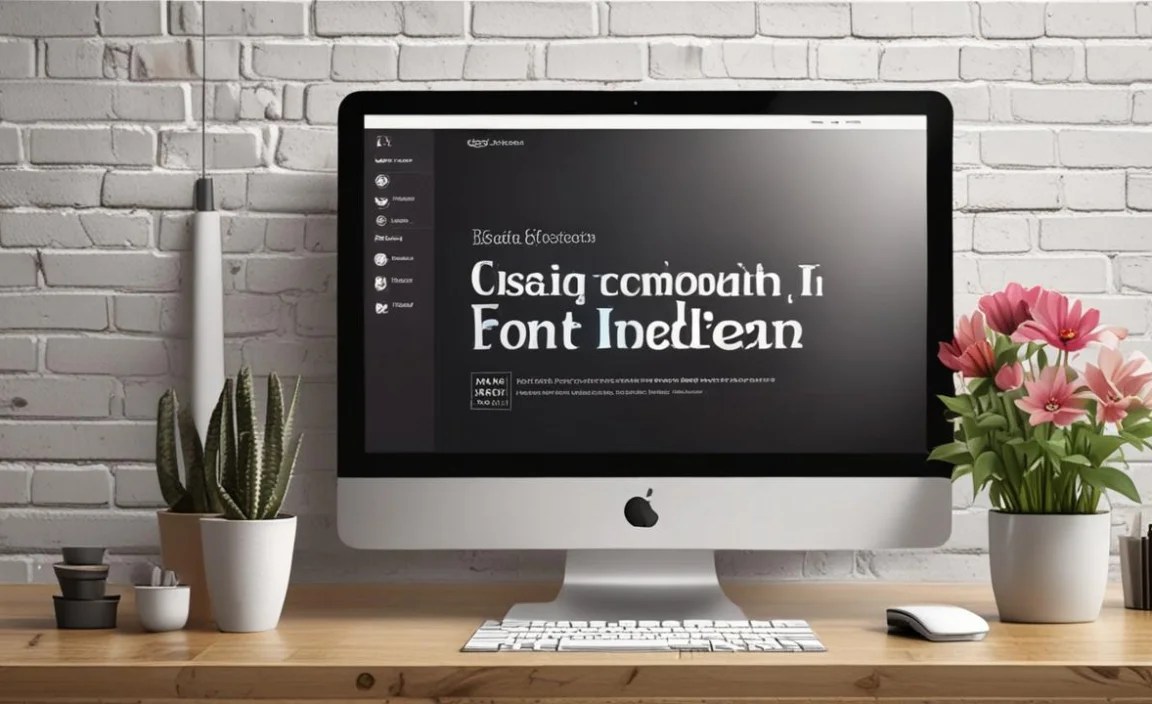
Where to Find Fonts

The first step in adding new fonts is, of course, finding them! There are countless resources online, offering everything from free, open-source fonts to premium, professional typefaces. Here are a few popular and reputable places to explore:
Free Font Resources:
- Google Fonts: A vast library of open-source fonts. You can easily download them for use in any project. They are web-friendly and excellent for diverse applications. Explore Google Fonts here.
- Font Squirrel: Offers a curated collection of generally free-for-commercial-use fonts. They often provide easy-to-understand licensing information.
- DaFont: A huge archive of fonts, but be sure to check the license for each font, as many are for personal use only.
- Open Foundry: A collaborative platform for designers and foundries, featuring many high-quality, often free, open-source fonts.
Premium Font Marketplaces:
- Adobe Fonts (formerly Typekit): Included with your Creative Cloud subscription, offering a massive selection of high-quality fonts that sync directly with your Adobe applications, including InDesign. This is one of the most seamless ways to get fonts into InDesign.
- MyFonts: One of the largest marketplaces for commercial fonts. You’ll find a huge variety of styles from numerous foundries worldwide.
- Fontspring: Known for its flexible licensing options and a great selection of independent font designers.
- Creative Market: A popular marketplace for various design assets, including a wide range of unique font packages.
Important Note on Licensing:
Always pay close attention to font licenses. Some fonts are free for personal use only, while others allow commercial use. Confusing these can lead to legal issues. When in doubt, check the font EULA (End User License Agreement).
Understanding Font File Types
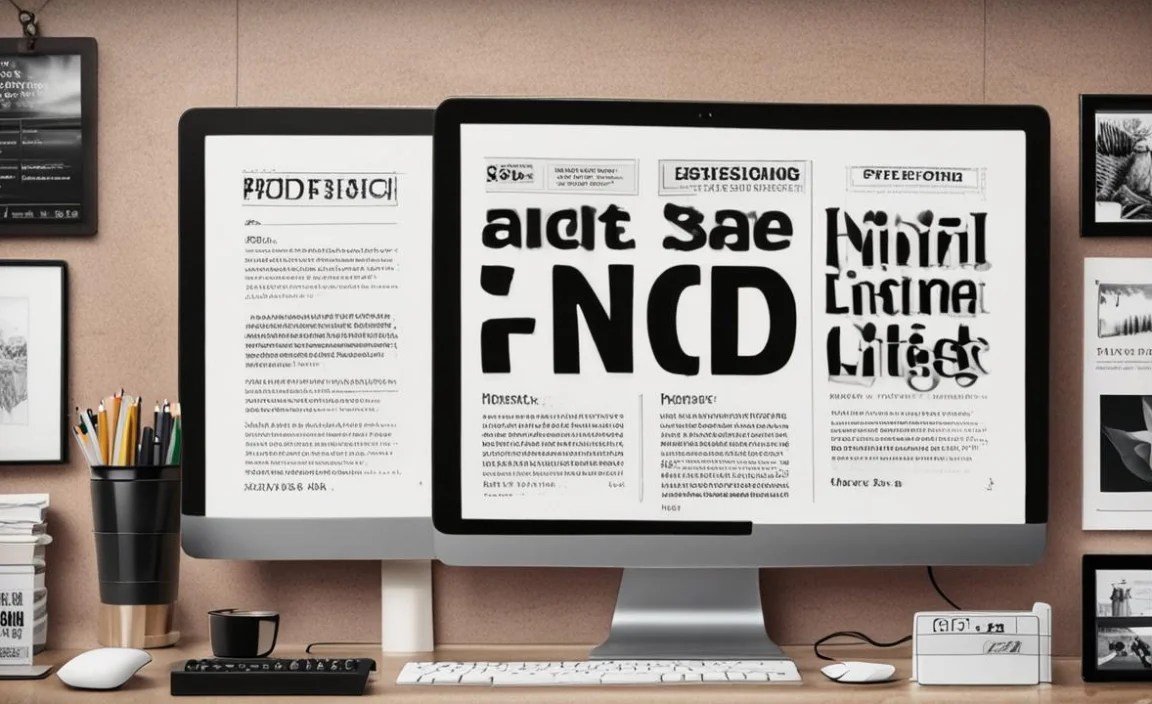
Fonts come in different file formats. The most common ones you’ll encounter are:
- OpenType (.otf): A modern, versatile format that works well across both Windows and macOS. It can contain more typographic features than TrueType.
- TrueType (.ttf): An older but still widely used format. It’s compatible with most systems.
- Web Open Font Format (.woff and .woff2): Primarily used for web design, though you can usually install them on your desktop as well.
For use in InDesign and other desktop applications, .otf and .ttf are the most common and recommended formats.
How To Add Font To Indesign: Step-by-Step Installation Guides

Adding a font to InDesign primarily involves installing it onto your operating system. Here’s how to do it for both Windows and macOS.
Installing Fonts on Windows
Windows makes font installation very straightforward. You can install fonts individually or in batches.
- Download and Extract Font Files: First, download your chosen font. Fonts often come in a ZIP archive. Right-click on the ZIP file and select “Extract All…” to unpack the font files (.otf, .ttf, etc.).
- Locate the Font Files: Once extracted, find the font files you want to install.
- Install the Font: You have a couple of easy options:
- Right-Click Install: Right-click on the font file (.otf or .ttf). In the context menu, select “Install for all users” (recommended) or “Install.” “Install for all users” places the font in the system’s font folder, making it available to all user accounts on the computer.
- Font Settings: Alternatively, navigate to Windows Settings > Personalization > Fonts. You can then drag and drop the font files directly into the “Add fonts” area.
- Restart InDesign: If InDesign was open during the font installation, close and reopen it. This allows InDesign to refresh its font list and recognize the newly installed font.
Installing Fonts on macOS
Mac users can easily manage their fonts using the built-in Font Book application.
- Download and Extract Font Files: Download your font and extract it from its ZIP archive if necessary. Locate the .otf or .ttf files.
- Open Font Book: You can find Font Book in your Applications folder, or by searching with Spotlight (Cmd + Space).
- Install the Font:
- Double-Click: The easiest way is to simply double-click the font file (.otf or .ttf). This will automatically open Font Book and display a preview of the font. Click the “Install Font” button.
- Drag and Drop: Open Font Book, then drag and drop the font files directly into the Font Book window.
- File Menu: In Font Book, go to File > Add Fonts to Current User… and navigate to your font file.
- Restart InDesign: As with Windows, close and reopen Adobe InDesign if it was already running. This ensures the application picks up the new font.
Using Adobe Fonts (Creative Cloud)
If you have an Adobe Creative Cloud subscription, Adobe Fonts is an incredibly convenient way to access and use thousands of professional typefaces. Fonts activated through Adobe Fonts are automatically available in InDesign without manual installation.
- Open the Creative Cloud Desktop App: Launch the Adobe Creative Cloud desktop application.
- Navigate to Fonts: Click on the “Fonts” tab at the top of the Creative Cloud window.
- Browse and Activate: Browse the extensive library of fonts. You can filter by classification, language, and more. When you find a font or font family you like, click the “Activate” button next to it.
- Syncing: The font will begin syncing to your computer. Once synced, it will appear in the font menus of all your Adobe applications, including InDesign.
- Using in InDesign: Open your InDesign document. Select text, then go to the Character panel (Window > Type & Tables > Character) or the Control panel at the top. The activated font should now be listed in the font dropdown menu.
Adobe Fonts are excellent because they are designed to work seamlessly across your Adobe ecosystem, ensuring consistent typographic choices.
Managing Your Fonts in InDesign
Once fonts are installed on your system, InDesign makes them available. However, managing a large font library can become overwhelming. Here are some tips:
Finding Fonts in InDesign
After installation and restarting InDesign:
- Open your InDesign document.
- Select the Type Tool (T).
- Go to the Character panel (Window > Type & Tables > Character) or the Control panel (Window > Control).
- Click the font dropdown menu. Your newly installed fonts should appear, usually grouped by foundry or name.
The Font Family and Font Settings
InDesign tries to group fonts by family name. If you install multiple weights or styles of a font (e.g., Light, Regular, Bold, Italic), InDesign should recognize them as part of the same family. You can select the main font family and then choose the specific weight from a secondary dropdown or slider.
Using the Find Font Feature
If you open a document that uses fonts you haven’t installed, InDesign will flag them as missing. You can use the “Find Font” feature to replace them:
- Go to Type > Find Font…
- The dialog box shows fonts used in your document. Missing fonts are listed in red.
- In the “Replace With” section, you can choose an available font from your system to substitute the missing ones.
- Click “Change” to replace selected fonts or “Change All” to replace all instances.
Font Management Tools
For designers working with hundreds or thousands of fonts, dedicated font management software can be invaluable. These tools help you:
- Organize fonts into collections.
- Preview fonts easily.
- Activate and deactivate fonts on demand, which can speed up your system.
- Avoid font conflicts.
Popular font management applications include:
- Suitcase Fusion: A robust professional font manager.
- FontBase: A free and user-friendly option with features for organizing and activating fonts.
- RightFont: Another powerful option for Mac users.
These tools are especially helpful for large projects or when collaborating with others, ensuring everyone is using the correct versions of fonts.
Table: Font File Types and Their Uses
Understanding the different font file types can help you make informed decisions about what to download and how to use them.
| File Type | Description | Primary Use Case | Compatibility |
|---|---|---|---|
| .otf (OpenType) | Developed as a cross-platform font format, supports advanced typographic features (ligatures, alternates, small caps). | Desktop publishing (InDesign), print design, web embedding (with appropriate embedding rights). | Excellent for Windows and macOS. |
| .ttf (TrueType) | An older but widely supported font format. Generally simpler feature set than OpenType. | Desktop publishing, general operating system use. | Works on both Windows and macOS. |
| .woff (Web Open Font Format) | Optimized for web use, smaller file sizes for faster web page loading. | Websites to display custom fonts in browsers. | Supported by most modern web browsers. Needs desktop install for applications. |
| .woff2 (Web Open Font Format 2) | An improved version of WOFF, offering even better compression. | Modern websites requiring optimal performance. | Supported by most modern web browsers. Needs desktop install for applications. |
| .eot (Embedded OpenType) | An older format specifically for Internet Explorer. Less common now. | Legacy web design for older IE versions. | Primarily Internet Explorer. |
For adding fonts to InDesign for print or digital layouts, focus on .otf and .ttf files. If you download a font specifically for web use (.woff, .woff2), you might need to find a desktop version (.otf or .ttf) to use it within InDesign.
Troubleshooting Common Font Issues
Sometimes, things don’t go as smoothly as planned. Here are some common font problems and how to solve them:
Font Not Appearing in InDesign
- Did you restart InDesign? This is the most common reason. Always close and reopen InDesign after installing a new font.
- Is the font installed correctly? Double-check that the font file is recognized by your operating system. For Windows, check C:WindowsFonts. For macOS, check Font Book.
- Is it a format issue? Ensure you’re trying to install a .otf or .ttf file. InDesign generally doesn’t support web-only formats like .woff for direct installation.
- Font conflicts: Occasionally, two fonts with the same internal name can cause issues. Try uninstalling both and reinstalling one at a time.
- Corrupt font file: The downloaded font file itself might be corrupted. Try downloading it again from the source.
- System limitations: Very old operating systems or very large font collections can sometimes strain InDesign.
Fonts Look Different or Have Missing Characters
This usually points to font inconsistencies or incorrect installation.
- Wrong Font Family: InDesign might be using a placeholder or a different font if the correct one isn’t found. Use “Find Font” to reassign.
- Missing Glyphs: Some fonts don’t contain all characters (e.g., special symbols, certain language characters). If you need these, find a font that supports them or use the Glyphs panel in InDesign (Window > Type & Tables > Glyphs) to find alternative characters if your font provides them.
- Font Cache Issues: Sometimes, your computer’s font cache can become corrupted. You might need to clear your system’s font cache. Search online for instructions specific to your operating system (e.g., “clear font cache macOS” or “clear font cache Windows”). Be cautious when clearing cache files.
Font Licensing Issues
While not a technical installation issue, understanding licensing is critical.
- Personal vs. Commercial Use: If you downloaded a font for personal use and then used it in a client project, you’re violating its license. Always check the EULA.
- Embedding Rights: Some fonts have restrictions on embedding them in PDFs or other documents.
- Font Management Software: Tools like Suitcase Fusion or FontBase can help track font licenses, especially in larger studios.
For detailed information on font licensing, reputable sites like Adobe Fonts and the specific EULAs provided by font foundries are your best resources.
Best Practices for Font Management
Keeping your font library organized and updated will save you time and headaches in the long run. Here are some best practices:
- Organize by Project or Style: Create folders for different client projects or font styles (e.g., “Branding Fonts,” “Web Fonts,” “Headline Fonts”).
- Consistent Naming Conventions: When downloading, especially if you’re an agency, agree on a naming convention for font files to avoid duplicates or confusion.
- Use Font Management Software: As mentioned, for extensive libraries, dedicated software is a game-changer.
- Regularly Review Your Library: Periodically purge fonts you no longer use or that are duplicates to keep your system clean.
- Backup Your Fonts: Keep a backup of your font library, especially if you have invested in premium fonts.
- Prioritize Adobe Fonts: If you have a Creative Cloud subscription, leverage Adobe Fonts. They are designed for seamless integration and are generally well-licensed for creative work.
- Keep Font Cache Clean: If you notice erratic font behavior, clearing your system’s font cache can often resolve issues.
A well-managed font library not only makes your workflow smoother but also ensures consistency and professionalism in all your design outputs.


Leave a Comment