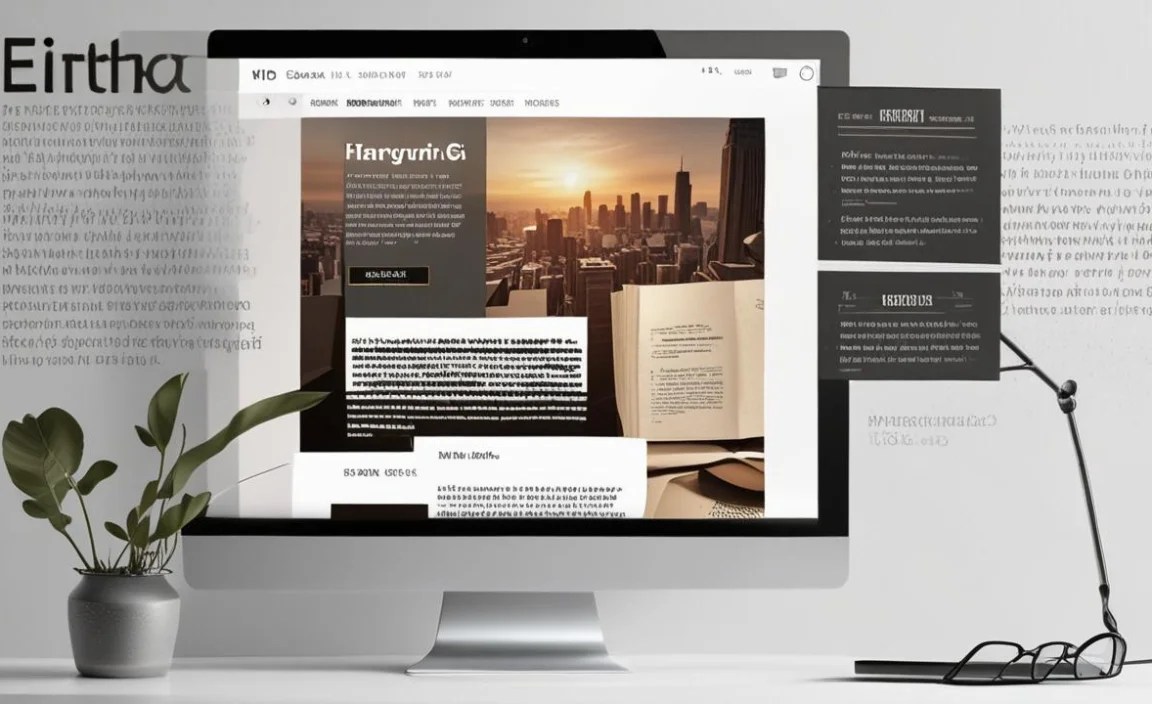
For Windows 10, genius font selection means understanding where to find, install, and manage fonts to perfectly match your project’s needs. This guide breaks down everything from easy installation to exploring amazing font options beyond the defaults.
Choosing the right font for your Windows 10 computer might feel like a puzzle. You want your documents, designs, or even just your browser to look just right, but sometimes the built-in options feel a bit… ordinary. Don’t worry, it’s totally normal to want more! We’ve all been there, staring at a blank page, wishing for that perfect typeface that speaks volumes. This guide will walk you through everything you need to know to become a font-finding pro on Windows 10. Get ready to unlock a world of beautiful lettering and make your text shine, step by step.
Why Font Selection Matters on Windows 10

Think of fonts as the voice of your text. Just like how you’d pick your clothes to match an occasion, you pick fonts to match the mood and purpose of your content. A playful font might be great for a birthday invitation, while a serious serif font is better for a formal report. Windows 10 comes with a decent collection, but exploring beyond them can seriously elevate your work. Whether you’re designing a logo, writing a blog post, or creating a presentation, the right font can make it memorable and professional.
Understanding Windows 10 Font Management
Before we dive into finding new fonts, let’s get a grasp on how Windows 10 handles them. It’s simpler than you might think!
Where Your Fonts Live
Windows 10 stores all your installed fonts in a specific folder. Knowing this helps when you’re troubleshooting or just curious.
Open File Explorer.
Navigate to `C:WindowsFonts`.
You’ll see a long list of all the fonts currently available on your system. Each font file often has a `.ttf` (TrueType Font) or `.otf` (OpenType Font) extension.
The Font Settings Control Panel
Windows 10 has a dedicated section for managing your fonts, making it easy to see what you have and even preview them.
1. Click the Start button.
2. Type `Fonts` and select Fonts from the search results.
This will open the Fonts control panel, which shows all installed fonts with their names, styles, and a preview of the typeface.
Genius Ways to Find New Fonts

The default fonts are good, but the real magic happens when you explore beyond them. Luckily, there are tons of fantastic resources available.
1. Utilize the Microsoft Store
Did you know you can get fonts directly from the Microsoft Store? It’s a convenient and safe way to add variety.
1. Open the Microsoft Store app.
2. Search for “fonts.”
3. Browse the available font packs some are free, others are paid.
4. Click Get or Buy to download and install them directly.
Many of these are curated collections, making it easy to find something fitting for a specific theme or design need.
2. Explore Google Fonts (A Designer Favorite!)
Google Fonts is an incredible resource for completely free, high-quality, open-source fonts. They are web-safe and versatile.
Website: fonts.google.com
Here’s how to use it and install fonts on Windows 10:
How to Use Google Fonts:
1. Browse and Select: Visit the Google Fonts website. You can filter by categories (Serif, Sans Serif, Display, Handwriting, Monospace), properties (thickness, slant), and language support.
2. Preview: Type your own text into the preview box to see how different fonts look with your words.
3. Download: Once you find a font you love, click the `Select this style` button. After selecting all the styles you want from a font family, click the download icon (a downward arrow) in the top right corner.
4. Unzip: The download will be a `.zip` file. Extract its contents to a folder on your computer.
How to Install Google Fonts on Windows 10:
1. Open the Extracted Folder: Navigate to the folder where you unzipped the font files.
2. Select Fonts to Install: You can select individual font files (`.ttf` or `.otf`) or multiple files.
3. Right-Click and Install: Right-click on the selected font files and choose Install. For multiple files, you might see “Install for all users” which is usually best.
4. Alternatively, Drag and Drop: You can also open your Windows 10 Fonts folder (`C:WindowsFonts`) and drag the `.ttf` or `.otf` files directly into it. Windows will automatically handle the installation.
3. Discover Other Free Font Websites
Beyond Google Fonts, many other reputable sites offer free fonts. Always check the licensing terms, as “free” can sometimes mean for personal use only.
Font Squirrel: (https://www.fontsquirrel.com/) Offers a vast collection of free fonts that are generally licensed for commercial use. They also have a handy font identifier tool.
DaFont: (https://www.dafont.com/) A massive archive with a wide variety of styles, from polished to quirky. Be mindful of the varying licenses.
1001 Free Fonts: (https://www.1001freefonts.com/) As the name suggests, a large collection with categories to help you find what you need.
General steps for installing from these sites:
1. Download the font file (usually a `.zip`).
2. Extract the contents of the `.zip` file.
3. Right-click on the `.ttf` or `.otf` font file(s) and select `Install`.
4. Consider Premium Font Marketplaces
For professional projects and a wider selection of unique, high-quality designs, paid font foundries and marketplaces are the way to go.
Adobe Fonts: If you’re an Adobe Creative Cloud subscriber, you get access to thousands of fonts that are automatically synced to your computer.
MyFonts: (https://www.myfonts.com/) A massive marketplace with fonts from hundreds of foundries. Great for finding specific styles or unique display fonts.
Fontspring: (https://www.fontspring.com/) Another excellent marketplace known for its clear licensing and wide selection of professional fonts.
Creative Market: (https://creativemarket.com/) Offers a curated selection of fonts, alongside other design assets.
Installation for premium fonts is generally the same as for free fonts: download, unzip, and install the `.ttf` or `.otf` files.
Types of Fonts for Genius Selection

Understanding different font categories helps you choose the perfect one for your message.
Serif Fonts
Serifs are the small decorative strokes at the ends of letter stems. They give text a traditional, elegant, and readable feel, making them great for long body text.
Examples: Times New Roman, Georgia, Garamond.
Best for: Books, newspapers, formal documents, academic papers.
Sans Serif Fonts
“Sans” means “without” in French, so sans-serif fonts lack those decorative strokes. They appear cleaner, more modern, and often more accessible digitally.
Examples: Arial, Helvetica, Open Sans, Lato.
Best for: Websites, mobile apps, headlines, signage, modern branding.
Display Fonts (or Decorative Fonts)
These are designed for impact and grabbing attention at larger sizes. They come in countless styles, from futuristic to vintage.
Examples: Impact, lobster, Pacifico.
Best for: Headlines, logos, posters, short branding elements, invitations.
Script Fonts
Script fonts mimic handwriting or calligraphy. They can add a personal, elegant, or casual touch depending on their style.
Examples: Brush Script MT, Great Vibes, Dancing Script.
Best for: Wedding invitations, personal notes, elegant branding, artistic projects.
Monospace Fonts
Every character has the same width, like on a typewriter. This creates a blocky, retro look and is essential for coding.
Examples: Courier New, Consolas, Source Code Pro.
Best for: Code editors, terminal windows, vintage-themed designs.
Handwritten Fonts
Similar to script but often more casual and less formal. They aim to replicate natural handwriting.
Examples: Amatic SC, Caveat, Kalam.
Best for: Craft projects, casual blogs, personal notes, playful branding.
Installing Fonts: A Step-by-Step Guide
Let’s reinforce the installation process, as it’s the most common action you’ll take.
Method 1: Use the Font Settings Menu
1. Locate Font Files: Download and extract your chosen fonts. You should have `.ttf` or `.otf` files.
2. Open Font Settings: Go to Settings > Personalization > Fonts.
3. Drag and Drop: Drag the `.ttf` or `.otf` font files from your File Explorer window directly into the designated area in the Fonts settings.
4. Wait for Installation: Windows will automatically install the font. You’ll see it appear in the list of installed fonts.
Method 2: Use File Explorer
1. Locate Font Files: Download and extract your chosen fonts.
2. Open Fonts Folder: Navigate to `C:WindowsFonts` in File Explorer.
3. Copy and Paste: Copy the `.ttf` or `.otf` font files.
4. Paste into Fonts Folder: Paste the copied files into the `C:WindowsFonts` folder. Windows will prompt for administrator permission if needed.
Method 3: Right-Click Install
1. Locate Font Files: Download and extract your chosen fonts.
2. Preview and Install: Double-click a single font file (`.ttf` or `.otf`) to open a preview window. Click the Install button at the top.
3. Batch Install: To install multiple fonts, select all the desired `.ttf` or `.otf` files in File Explorer. Right-click on the selection and choose Install or Install for all users.
Managing Your Font Collection
As your font library grows, organization becomes key.
Previewing Fonts
Always preview a font before committing to using it.
Windows Font Viewer: Double-click any font file to open its preview.
Font Settings: Browse your installed fonts in `Settings > Personalization > Fonts` to see them all at a glance.
Design Software: Most graphic design programs (like Photoshop, Illustrator, Word, PowerPoint) have font dropdown menus that show previews.
Uninstalling Fonts
If you no longer need a font or want to free up space, uninstalling is straightforward.
1. Go to Settings > Personalization > Fonts.
2. Click on the font you wish to remove.
3. Click the Uninstall button.
4. Confirm the uninstallation.
Important Note: Be cautious when uninstalling fonts that might be essential to your system or applications. Stick to fonts you’ve added yourself.
Creative Font Pairing for Professional Results
Picking one great font is good, but combining two or three thoughtfully can create stunning visual harmony.
The Classic Hierarchy: Serif + Sans Serif
This is a foolproof method for professional results.
Headline: A strong, eye-catching sans-serif font.
Subheading: A complementary sans-serif, perhaps in a lighter weight or different style.
Body Text: A highly readable serif font for immersive reading.
Example Pairing:
Headline: Montserrat (Sans Serif)
Body Text: Merriweather (Serif)
Display Font for Impact, Simple for Support
Use a decorative font sparingly for key elements, and a clean font for everything else.
Logo/Headline: A unique display or script font.
All other text: A simple, clean sans-serif like Open Sans or Roboto.
| Usage | Font Style Suggestion | Example Fonts |
|---|---|---|
| Headlines & Accents | Bold, attention-grabbing | Oswald, Bebas Neue, Playfair Display (for a dramatic serif) |
| Subheadings | Clear and structured | Lato, Poppins, Raleway |
| Body Text | Highly readable, comfortable for long reads | Roboto, Source Sans Pro, Noto Serif |
| Captions/Small Print | Simple and unobtrusive | Arial Narrow, Roboto Condensed |
Consider Contrast and Harmony
When pairing, aim for fonts that have enough contrast to stand out from each other but also share some underlying characteristics (like x-height or stroke contrast) to feel cohesive.
Font Choices for Common Projects
Let’s look at specific scenarios and how genius font selection can help.
For Bloggers and Website Owners
Readability is king for online content.
Body Text: Prioritize clean sans-serifs like Open Sans, Lato, or Nunito, or highly readable serifs like Merriweather or Lora. Google Fonts offers an excellent range.
Headlines: You can get a bit more creative here. A slightly bolder sans-serif or a stylish serif can work well. Check out Montserrat, Poppins, or Playfair Display.
Logos: For branding, choose a font that reflects your niche and personality. A custom-designed font can be powerful, but well-chosen existing fonts can also work wonders.
Learn more about web typography best practices from resources like the Nielsen Norman Group: https://www.nngroup.com/articles/text-design/
For Graphic Designers and Branding Specialists
This is where font selection becomes an art form.
Logos: Needs to be unique, memorable, and scalable. Consider custom lettering or premium fonts from foundries like TypeTogether or Klim Type Foundry.
Marketing Materials: Play with a mix of display fonts for impact and legible fonts for information. Ensure brand consistency across all touchpoints.
Typography Trends: Stay updated on what’s new. Sites like Typewolf showcase current trends and font usage.
For Students and Beginners
Start simple and build your understanding.
Focus on Readability: Master the difference between serif and sans-serif for different contexts.
Experiment with Defaults: Get to know the fonts already on your system (Arial, Calibri, Times New Roman, Georgia) and how they are typically used.
Use Google Fonts: It’s free, safe, and provides a vast playground for learning.
For Creative Exploration (Display, Script, Brush)
When you want to add flair and personality!
Display Fonts: Use for short, impactful text like titles, posters, or social media graphics. Be careful not to overuse; they can become illegible quickly.
Script & Brush Fonts: Excellent for adding a human touch, elegance, or a rugged feel. They are often best used for decorative elements, signatures, or short phrases. Ensure they are readable at the size you need.
Tips for Genius Font Selection
Know Your Audience: Who are you trying to reach? A font for children’s books will be very different from one for a financial report.
Understand the Mood: What emotion or feeling do you want to evoke? Elegant, playful, serious, modern, vintage?
Readability is Crucial: Especially for body text, fonts must be easy to read for extended periods. Test them at different sizes.
Test Across Platforms: If your font is for a website or app, check how it renders on different devices and browsers.
Licensing Matters: Always check the font’s license. Free fonts are not always free for commercial use. Paid fonts usually have clear terms.
Don’t Overdo It: Stick to 1-3 fonts per project. Too many fonts create visual chaos.
Consider Accessibility: Ensure font choices are inclusive, especially for people with visual impairments. High contrast and clear letterforms are key. Resources from organizations like the Web Accessibility Initiative (WAI) can offer guidance.
Frequently Asked Questions (FAQ)
Q1: How do I install a font I downloaded from the internet on Windows 10?
A: After downloading and extracting the font file (it will usually be a `.ttf` or `.otf` file), you can either double-click the file to open it and click “Install,” or right-click the file and select “Install.” You can also drag and drop font files into the `C:WindowsFonts` folder.
Q2: Can I use any font I find online for my business logo?
A: Not always. Many “free” fonts are only for personal use. For business logos, you generally need to use fonts with commercial licenses, which may require purchasing them. Always check the font’s license agreement.


Leave a Comment